National Teacher Appreciation week is May 2-6, 2011 with Teacher Appreciation Day being on Wednesday the 3rd.
We like to send a little something each day of the week in appreciation of Savannah Grace's teachers.
Our first craft is a candy card....


Suggested supplies -
Poster board
Craft glue
Double stick tape or tape runner
Die cut letters
Embellishments of your choice
Boxes or bags of selected candy
Step 1 -
Fold the full size poster board sheet in half and cut. Fold each half sheet in half again, making two cards.

Step 2 -
Using craft glue or double stick tape, attach your background embellishments to the front of the card. You can trace something from coloring books or various clip art sites from the internet.

Step 3 -
Using craft glue or double stick tape attach your desired lettering to the front of the card. I cut my letters using the die cut machine at school but you can use Cricut cuts, pre made ones from the craft store or trace some from fonts on your computer.


Your card in now complete - give to your favorite teacher in appreciation for their hard work and dedication to our children everyday.
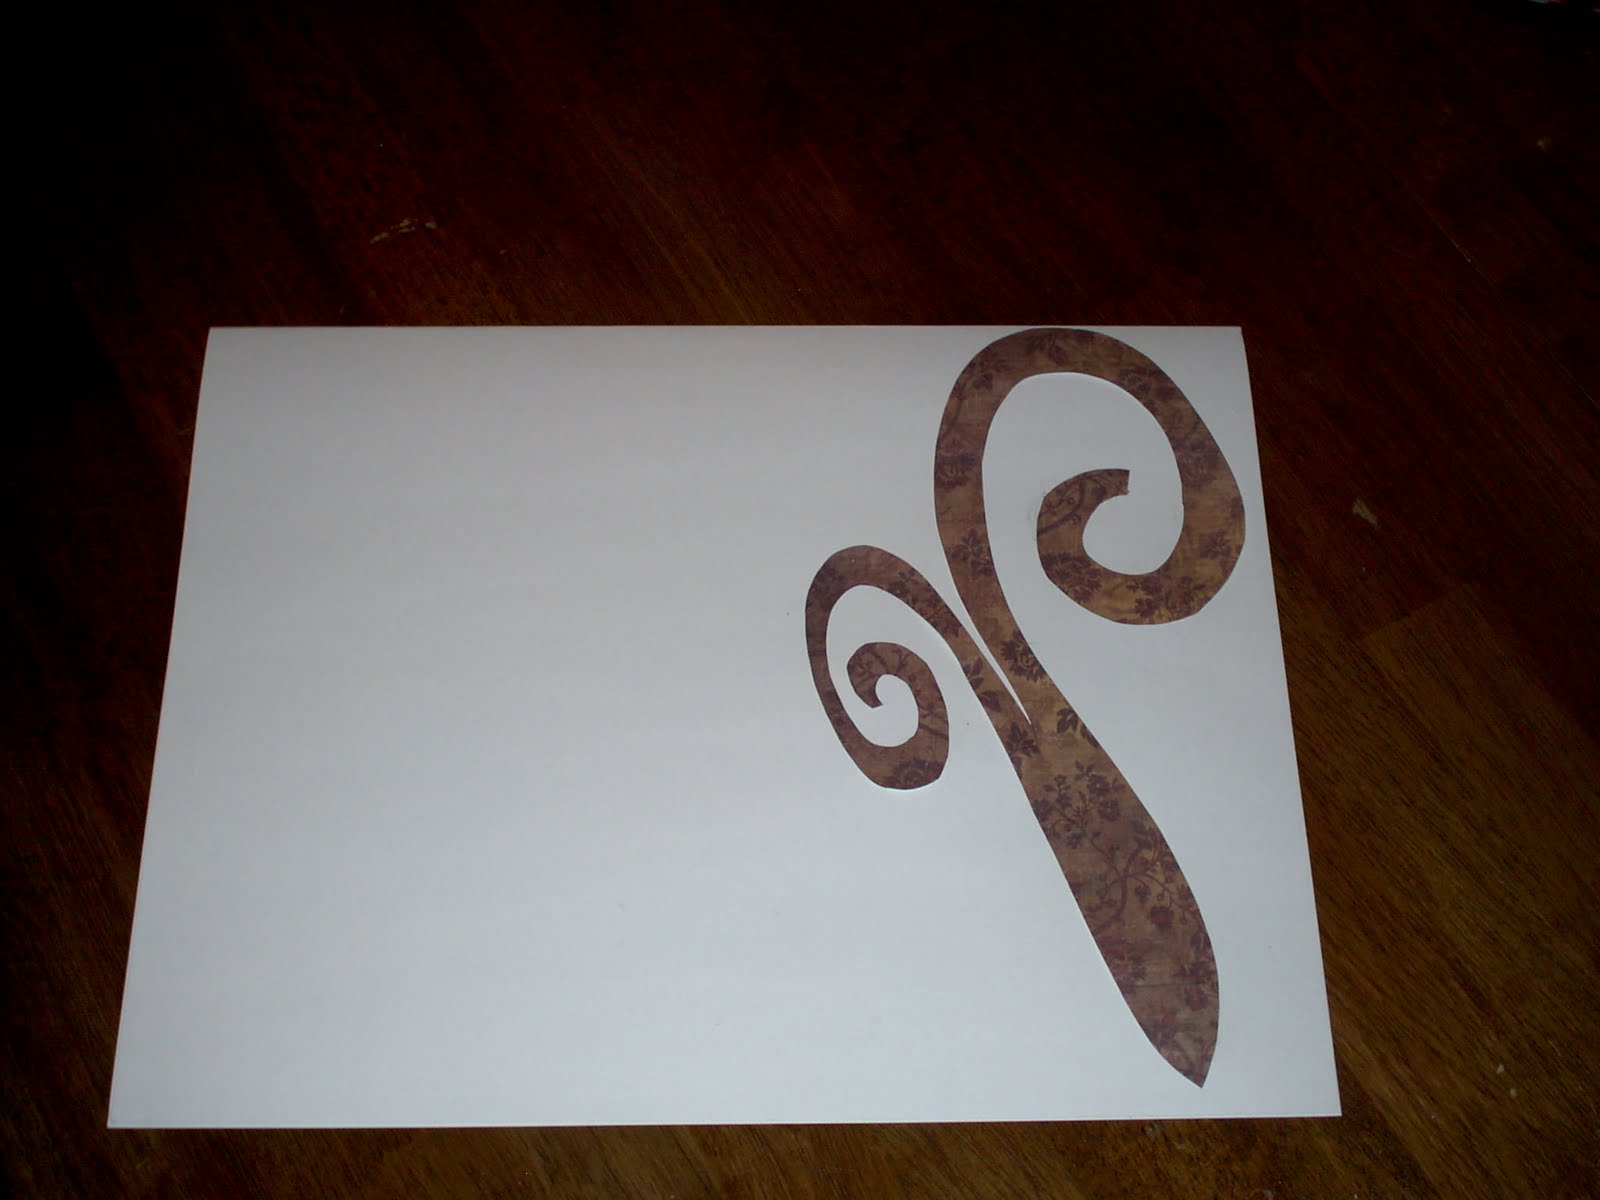
Front -
We like to send a little something each day of the week in appreciation of Savannah Grace's teachers.
Our first craft is a candy card....


Suggested supplies -
Poster board
Craft glue
Double stick tape or tape runner
Die cut letters
Embellishments of your choice
Boxes or bags of selected candy
Step 1 -
Fold the full size poster board sheet in half and cut. Fold each half sheet in half again, making two cards.

Step 2 -
Using craft glue or double stick tape, attach your background embellishments to the front of the card. You can trace something from coloring books or various clip art sites from the internet.
Step 3 -
Using craft glue or double stick tape attach your desired lettering to the front of the card. I cut my letters using the die cut machine at school but you can use Cricut cuts, pre made ones from the craft store or trace some from fonts on your computer.

Step 4 -
Attach your chosen embellishment to the front of the card. I made decorative flowers by gluing beads to the center and attaching that.


Step 5 -
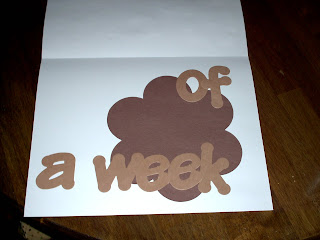
Now move to the inside of the card. Attach your desired background embellishment and letters as you did on the front.


Step 6 -
Attach your desired candy using craft glue to the desired location on the card. I use Whoppers for my chosen poem so I covered the "S" on the candy with a construction paper dot.


Your card in now complete - give to your favorite teacher in appreciation for their hard work and dedication to our children everyday.
Front -
Inside -