It is birthday time again and this years chosen theme is ladybugs. After months and months of planning, searching, bartering, crafting and organizing, our ladybug birthday bash was a huge success with Savannah Grace and her friends.
With the increased popularity of pinterest, ideas are more abundant than ever, making it a great resource for idea sharing and idea collecting. A close knit group of fellow crafters are also an invaluable asset at party planning time!
Now - deciding on what type of party to have? Savannah Grace decided on a sleep over party at a local hotel, where the girls could swim in the heated pool, have dinner, pedicures, a craft, snacks, and lots of tween girl time.
We sat down together and planned an itinerary to insure time was planned for best use and the girls had a great time. I then printed this itinerary on the backside of the invitation to give each party guest an idea of the planned activities.
The invitation
The invitation sets the entire mood for your party - make it a great one!
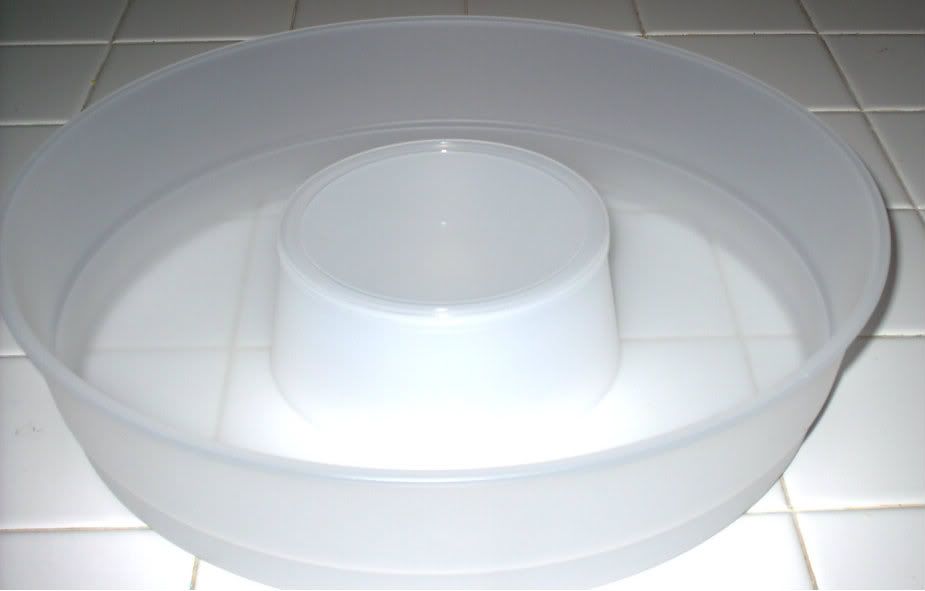
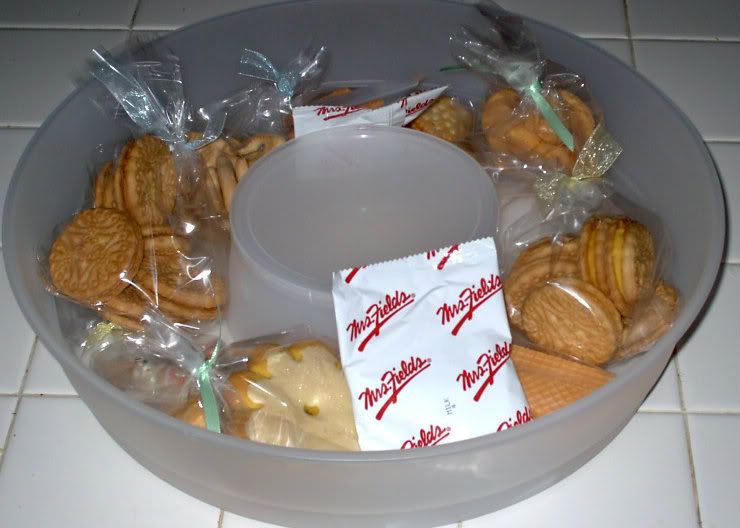
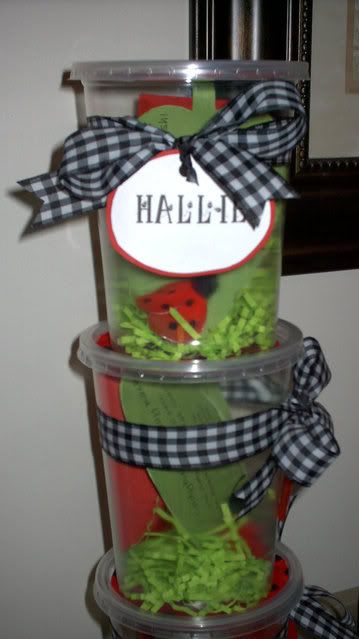
I decided on a ladybug in a jar type invitation. I saved peanut butter jars for months and months for our project, only to discover on fabrication day that the jars I chose were way to small to fit a leaf design, with print large enough to actually read. I eventually used deli containers from the local restaurant supply store, since I didn't have time to eat 6 giant jars of peanut butter.
I printed a leaf pattern from google search and traced it onto my previously printed green card stock(print first so you can center the leaf over your text. This took several trials to get the text to fit onto a leaf that would fit into the jar.) and attached a small fabric ladybug. I also made a little RSVP card the same way.
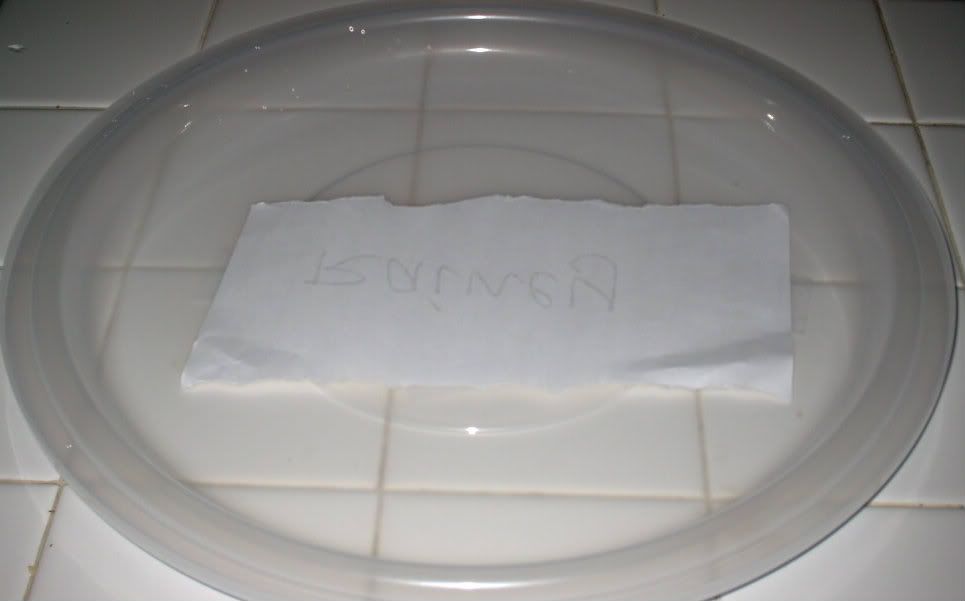
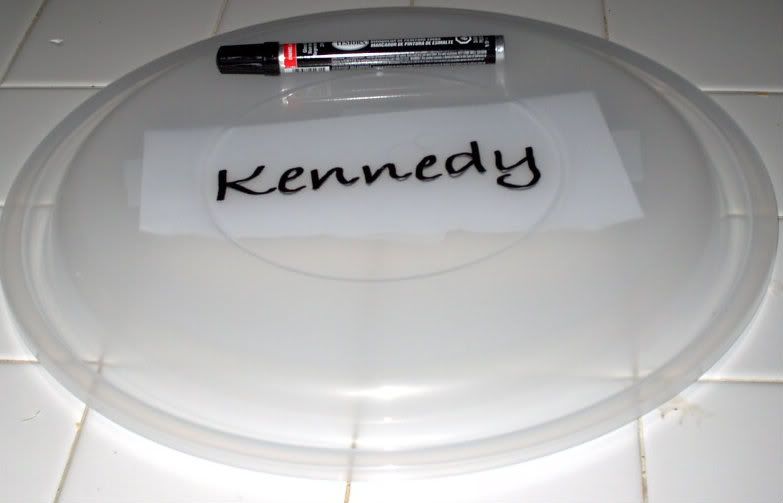
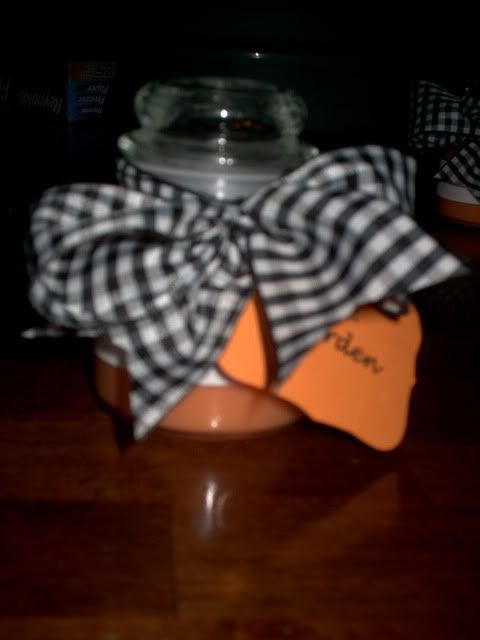
I put a few green paper shreds into the bottom of the container, inserted the leaf and RSVP card, and put the top on the container. I cut fabric circles to cover the top of the container and give a little additional color, tied with a little ribbon and tag.
The Birthday Outfit
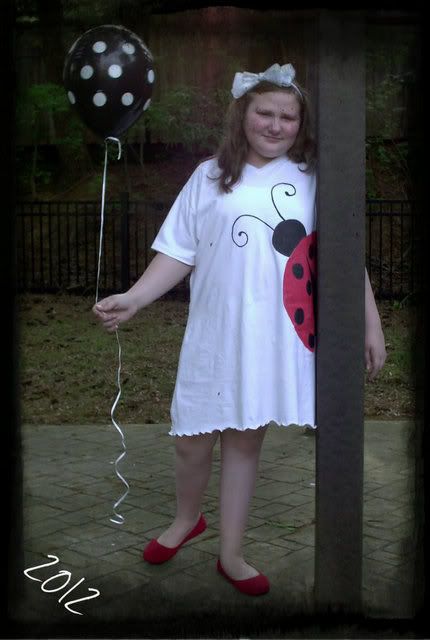
It is getting harder and harder to make a birthday outfit as Savannah Grace gets older. This year I found an inspiration dress on pinterest and decided to do something similar.
I ordered a plain cotton dress blank, freehand drew a ladybug and painted with fabric paint. This was not one of my easiest projects but turned out okay and did fit the theme exactly.
Party Favors
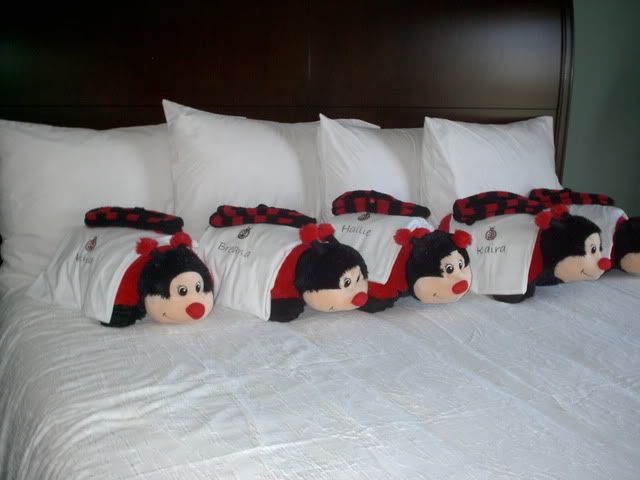
We bought ladybug pillow pets at a local store, using percent off coupons, for each guest. I bought plain white sleep shirts from Hobby Lobby, used an iron on rhinestone ladybug, and personalized each with guest names. We picked up ladybug slipper socks at Target for 90% off during the after Valentines day clearance sale.
Decorations and Party Supplies
Who would have known ladybug party supplies would be so hard to find? Well, traditional red, black and white ladybug party supplies anyway. I found many pink and green ladybug options, but very little in the traditional ladybug look.
I purchased one style napkin from an online party store, one at a local Party City, and used plain red square plates (from Target Valentines sale), and red plastic ware (also from Target clearance).
I always order balloons from ebay, since I can usually get all I need from one seller and get so much more variety than running from store to store.
Paper pom poms and streamers. The streamers were Valentines day, I just replaced the heart dangle with a ladybug.
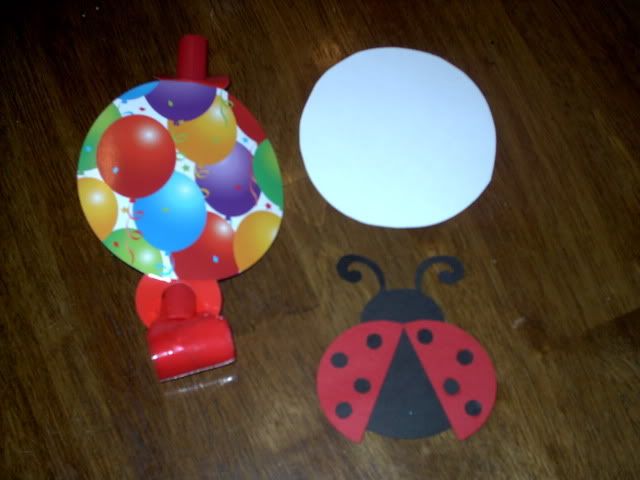
I bought simple party blowers from Dollar Tree and replaced the standard picture with our ladybug paper crafted design.
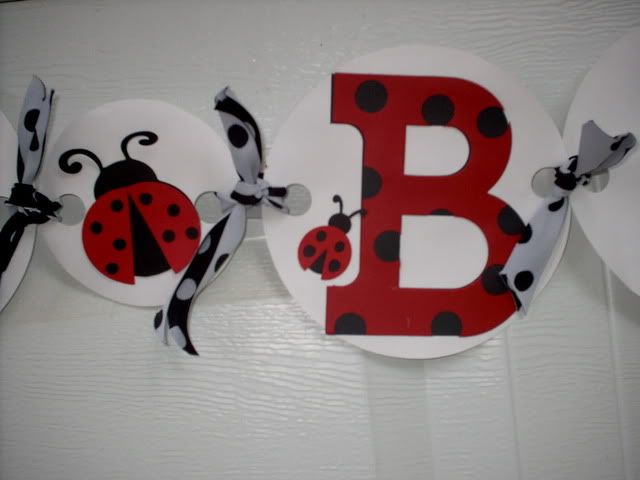
Birthday banner - made by cutting two sets of letters, punching holes in the top set and layers them for the ladybug spots. Basic circles cut of card stock as the background and all tied with polka dot ribbon.
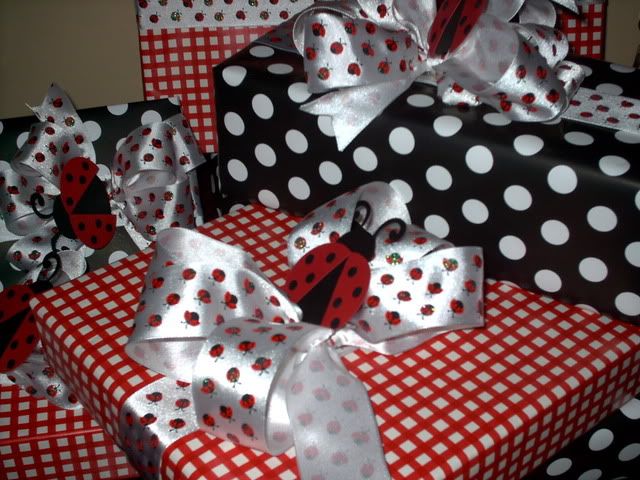
A Perfectly Wrapped Gift
I am also obsessed with finding the perfect gift wrap for the party theme. This year I found the paper at Christmas and my Mother in law found the ribbon at either Costco or Sams (can't remember which). A very generous friend cut the ladybug embellishments on her cricut for me.
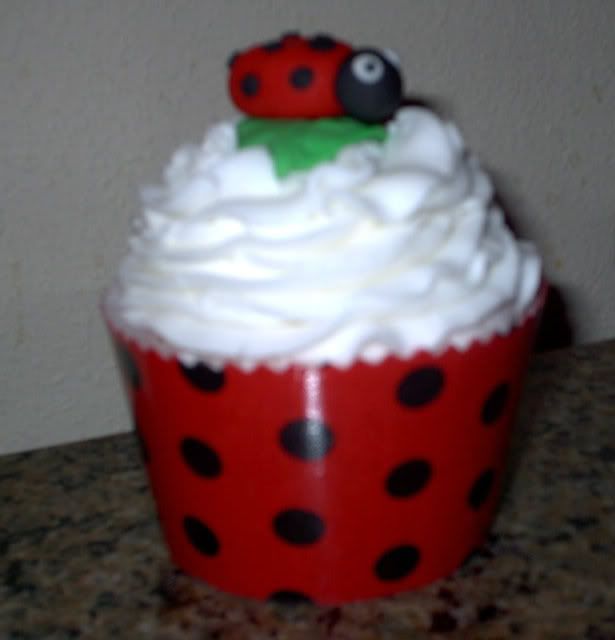
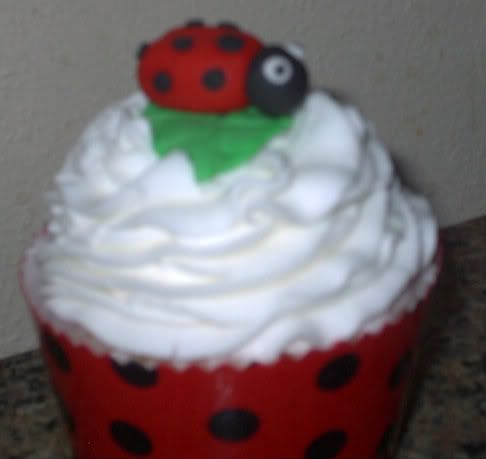
The Cake - well, Cupcake!
I chose jumbo cupcakes this year from our local bakery - just plain white cake and white butter cream. I made cupcake wrappers by laminating fabric (since I could not find the perfect paper), cutting out the design, wrapping around the cake and hot gluing shut (not sure what other adhesive would work because of the laminating). The adorable ladybugs were made of fondant by another very generous friend, whom I could craft with all day long - if she didn't live hundreds of miles away!
Party Food
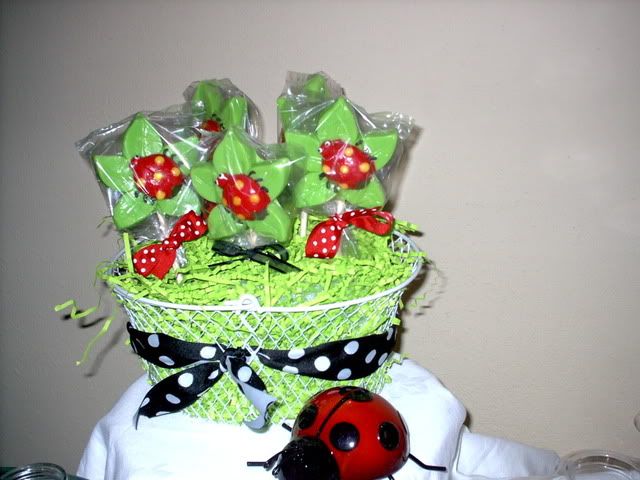
Ladybug lollipops - found at Walmart in the Easter section. I just re wrapped them in clear bags.
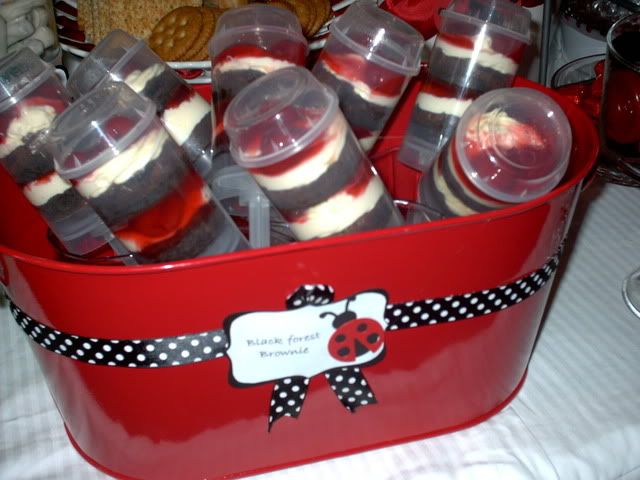
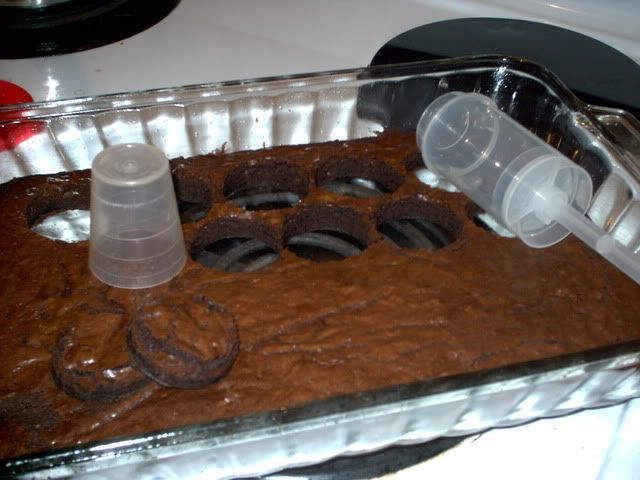
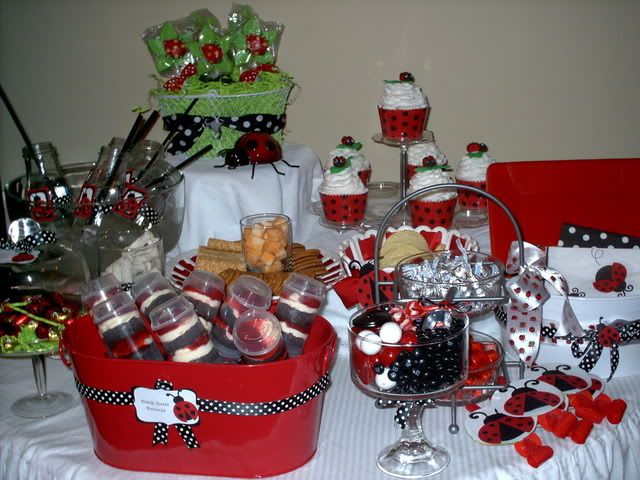
Black forest brownie push pops - Brownies cut into shape and layered with buttercream and cherry filling. LOVE these push pop containers - I ordered mine from ebay, but they also can be found on etsy.
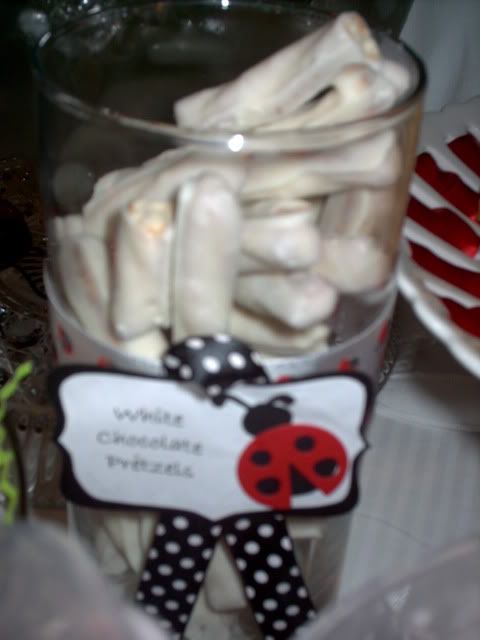
White chocolate pretzel sticks.
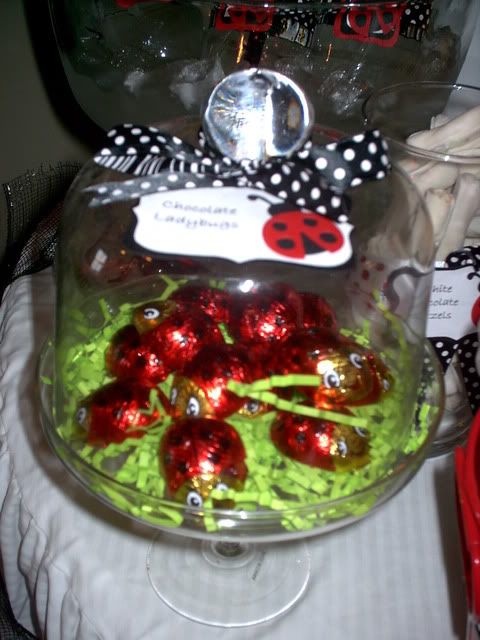
Chocolate ladybugs.
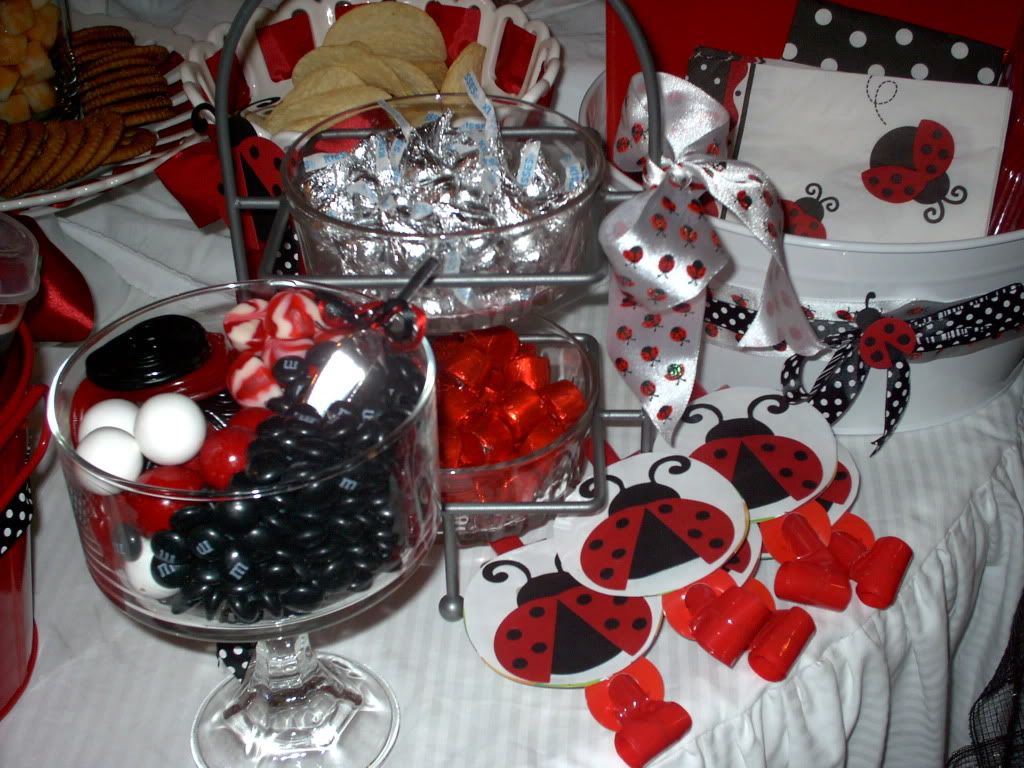
Assorted candy in the party colors with the cutest sliver scoop. I bought the scoops from ebay, attached matching ribbon and a little ladybug button.
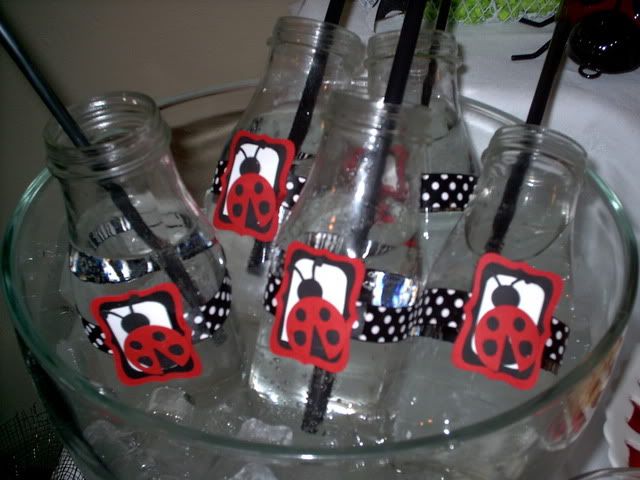
Sprite in decorated bottles. Bottles are recycled Starbucks bottles from the supermarket (made hubby drink those things for weeks), a little ribbon and ladybug embellishment mades them adorable. Topped off with cute black straws.
The Party Table
Craft Project
The girls made bottle cap necklaces. I ordered the cords and individual monogram disc's from ebay, bought the caps and ladybug charms from Hobby Lobby.
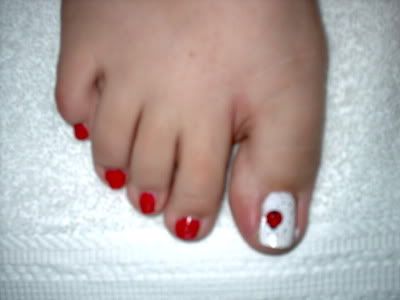
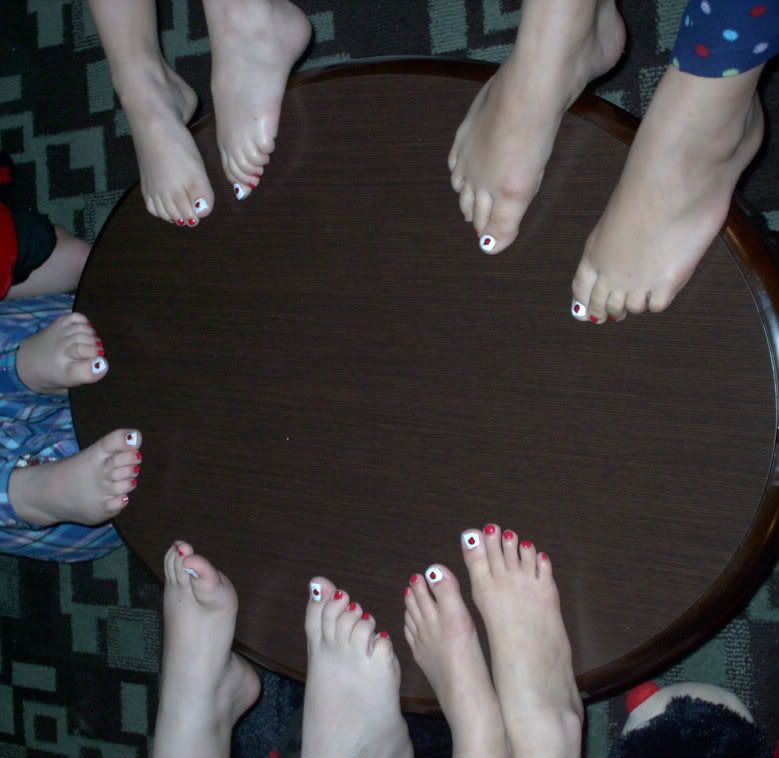
Ladybug Pedicures
Cute little ladybug decals ordered from ebay.
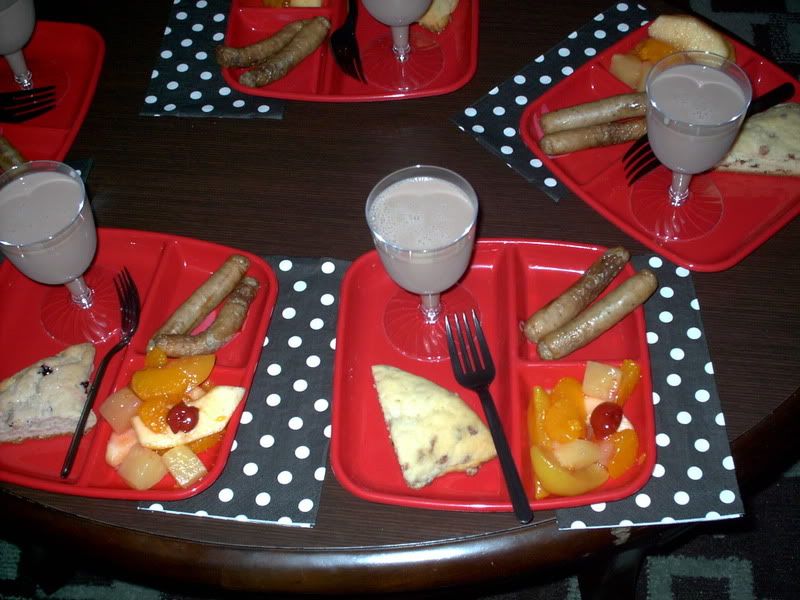
The Following Morning Breakfast
Apple scone, sausage links, fruit, and chocolate milk.
Another birthday, and another year older for my baby girl. I can't even look back and see where all the years have gone. Providing my precious little girl with birthday memories she will always remember is all I can hope for.