Thursday, May 10, 2012

I'm one smart cookie because of you - Teacher gift

Teacher Appreciation Week - Day 4 gift!

I'm one smart cookie because of you


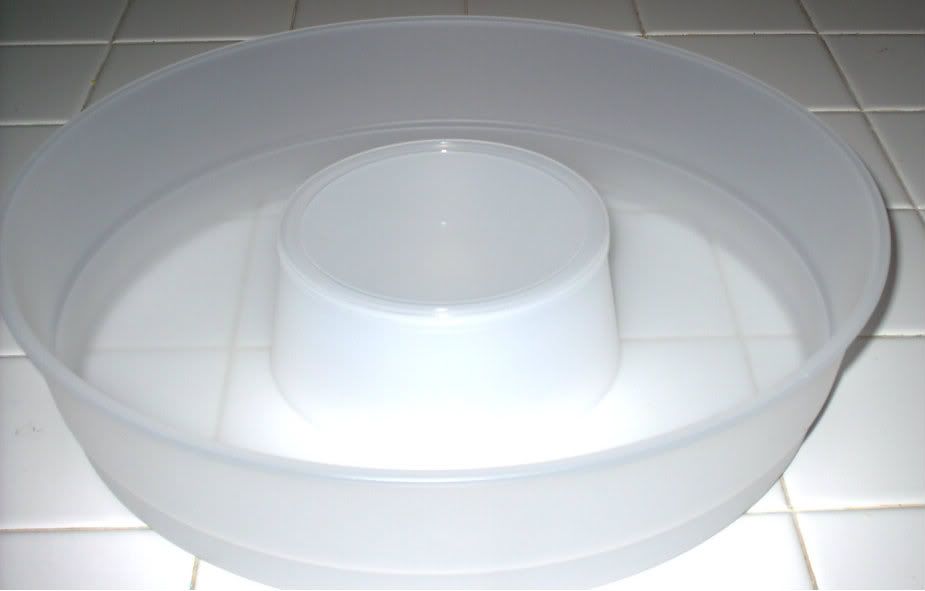
I bought these chip/dip containers at Big Lots last year at the end of summer for very little, in anticipation of using them as teacher gifts this year.


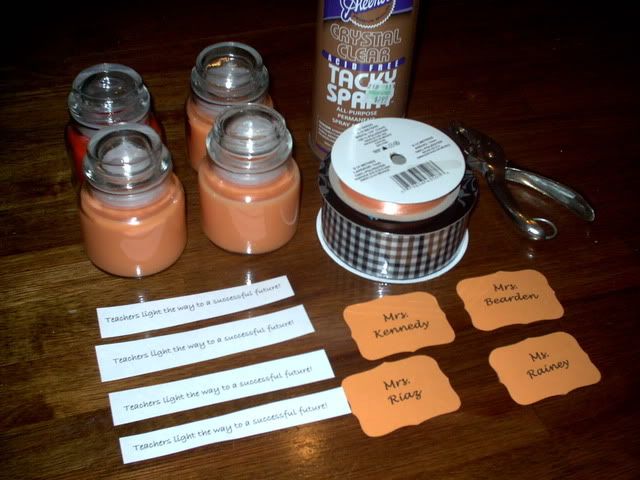
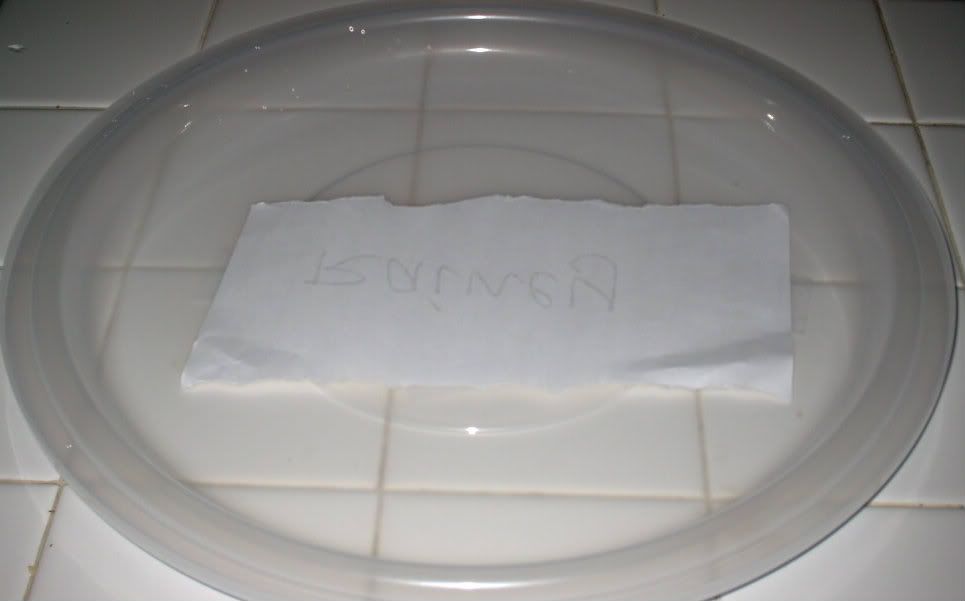
I printed the teacher name on the computer and taped it to the underside of the lid.


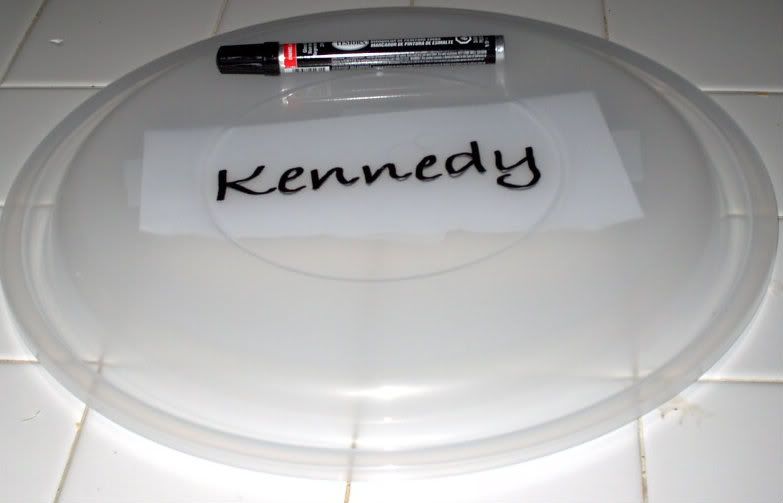
I then used a Testors brand enamel paint marker to "trace" the name onto the top of the container. 

Marker was found it in the model section - It is used to customize model cars. It was about $6.00 BUT it works great!  I have found, over the years, that standard paint pens wash off, but this doesn't seem to.

You could also use outdoor vinyl, if you have access to it and a cutting machine.


I filled the container with all sorts of cookies, tied in individual bags or prepackaged.


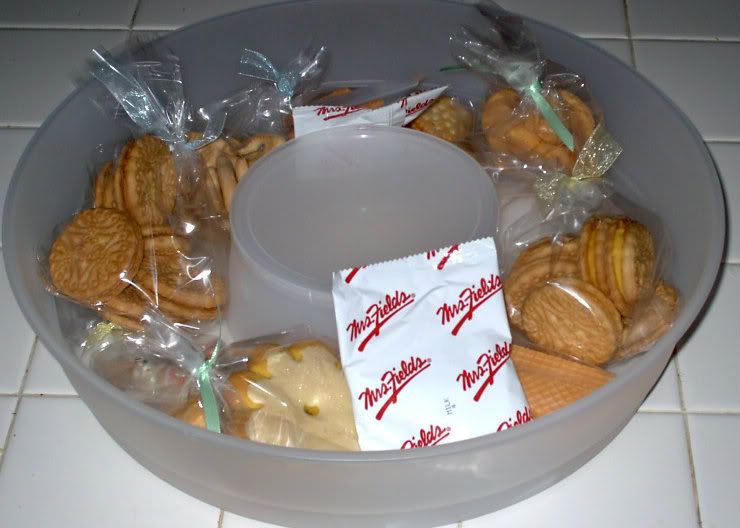
I then tied with a pretty ribbon and attached a little tag, which reads "I'm one smart cookie because of you".


I really liked the way these tuenout out, and how very simple.  I will be watching summer clearance again this year to use the idea again next year.


Wednesday, May 9, 2012

"Teachers light the way to a successful future" - Teacher Appreciation Day candle

Teacher Appreciation week - Day 3

"Teachers light the way to a successful future"  - Teacher Appreciation Day candle


I bought single candles for $1.00 at Walmart, attached the above quote to the jar itself, tied with a pretty ribbon and tag - voila!


Monday, May 7, 2012

Rest and Relaxation Kit For Teachers

Teacher Appreciation Week Gift - Day Two!


Pull top can gift - Emergency rest and relaxation kit for teachers. 

Supplies:

Fruit and/or veggie cans with pull tops.

Scrapbook paper

Ribbon

Embellishments of your choice

E6000 adhesive

Contents for your can.


Step 1 -

Open cans from the bottom with a crimp type can opener.  Wash and rinse them.  Keep each lid with that specific can because each can is different.  Also make sure the cans you choose have the straight bottom and not the curved bottom (those will not open with the can opener).


Step 2 -

Print your specific "instructions" and glue them on the inside of the can lid.  This needs to be a thick/good glue so it sticks to the lid and doesn't pull away when opened.  You do this so when the person pulls the pull top, the instructions are on the underside.  Allow to dry before proceeding.

Mine read -

1.  Hang sign on bathroom door.
2.  Close and lock door.
3.  Run a nice hot bath and
     add dry bubbles.
4.  Relax in bath while eating
     chocolate and playing with
     little rubber duck (go ahead,
     no one is watching).
5. Emerge from bath refreshed
    and relaxed (until tomorrow
    anyway)!


Step 3 -

Fill the can with your desired items.  I used a small door sign, a mini rubber duck, bath confetti, and some chocolate.


Step 4 -

Add a little paper shreds or Easter grass on top of your items.  Glue the bottom back onto the can with E6000 adhesive.  Hold the bottoms on with rubber bands until they dry.


Step 5 -

Cut your scrapbook paper to a size to fit around the can.  Add your custom label - mine reads "Emergency rest and relaxation kit for teachers.  When it has been "just one of those days" pull top and follow instructions."

Glue labels to the outside of the cans and allow to dry.


Step 6 -

Tie decorative ribbons to the top tab, add embellishments (I used paper flowers), and name tags.


Give your cute creations to your favorite teachers!

S'more teacher gift!

Teacher Appreciation Week - Day One!


Today's gift was so very simple...


You will need...


Plastic treat bags
Card stock - I used blue to match the printed image.
Printable s'more bag tag (found here - http://domesticatedlady.com/2010/smore-teacher-appreciation-idea-and-free-printable/)  I cut the assembly instructions off the back half, because I bought pre-made s'mores.
Premade S-mores (I found these cute premade ones at Publix last week $1.50 each) or graham crackers, chocolate and marshmallows.
Glue, and stapler.

Instructions...

Cut card stock to fit your printed image and glue the image onto it.  Since I just used the front portion of the printable, I printed "Thank you for being such a great teacher" and my child's name, on the back of the bag topper.

Put s'more ingredients into the bag and fold down the top.

Staple the bag topper to the bag.

SUPER simple and CUTE!